Haier GDZ5-1C User Manual
Browse online or download User Manual for Dryers Haier GDZ5-1C. haier GDZ5-1C User Manual
- Page / 24
- Table of contents
- TROUBLESHOOTING
- BOOKMARKS
- Front Load Electric Dryer 1
- Seche-linge Electrique 1
- Chargement de Devant 1
- IMPORTANT SAFETY 2
- INSTRUCTIONS 2
- SAVE THESE INSTRUCTIONS 3
- TABLE OF CONTENTS 5
- OPERATING INSTRUCTIONS 6
- Start Button: 9
- Synthetic Light: 10
- Clean Filter Light: 10
- Lint Filter: 11
- Leveling Legs: 11
- Normal Operating Sounds 12
- Operations 12
- Drying Tips 13
- CARE AND CLEANING GUIDE 14
- TROUBLESHOOTING 15
- ELECTRICAL REQUIREMENTS 16
- Save These Instructions 17
- INSTALLATION INSTRUCTIONS 18
- EXHAUST SYSTEM CONNECTIONS 19
- Materials 20
- Location of Your Dryer 22
- Installation in Mobile Home 23
- IMPORTANT 24
Summary of Contents
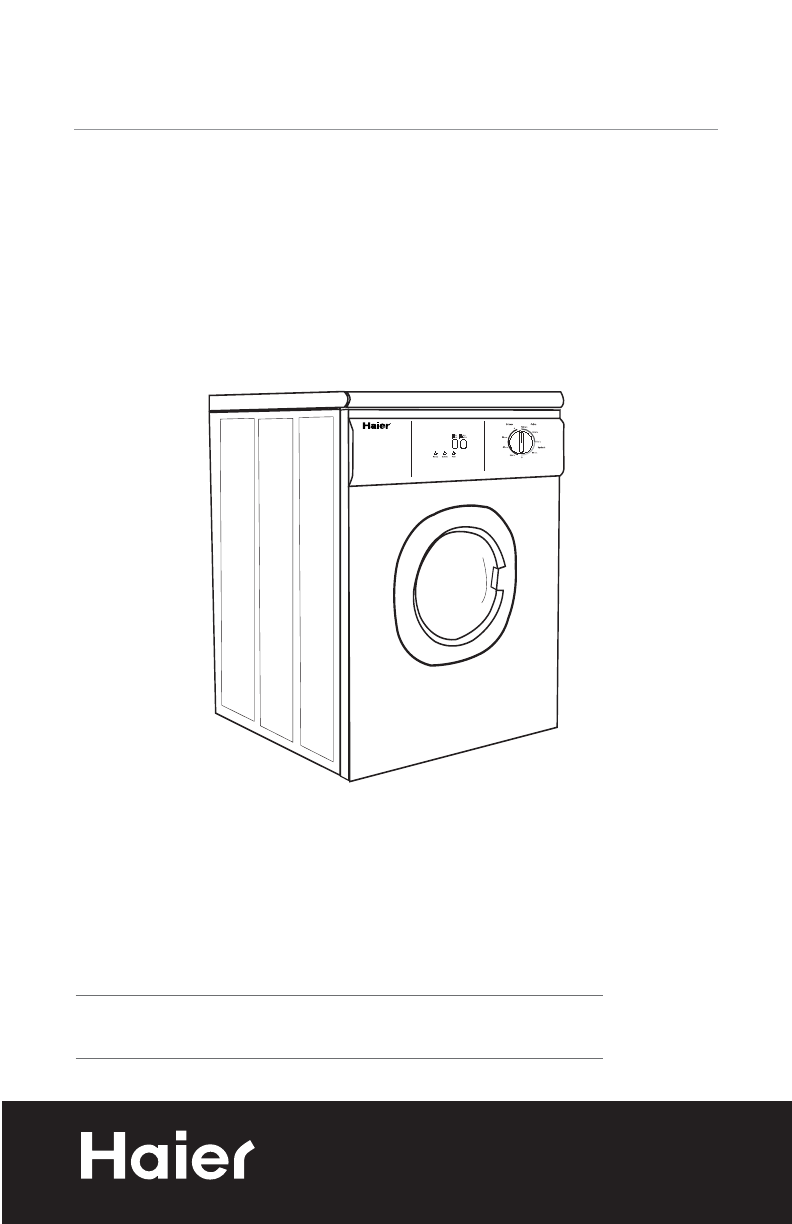
Quality Innovation StyleFront Load Electric DryerSeche-linge ElectriqueChargement de DevantUser Manual Model # GDZ5-1CGuide de l’UtilisateurModéle #
Synthetic Light:• You must have synthetic button in its inward position in order to have thelight "ON". When cycle is about to finish and go
10EnglishLint Filter:• It is located on middle-front behind door. The filters slides out easily forcleaning.• It is ok to wash the lint filter with wa
11English1. Sort clothes for drying. Separate dark and light colored items, like you do forwashing. Check for stains that have not been removed in was
12EnglishDrying TipsNote: The average load will fill drum 1/3 to 1/2 full. Clothes will need room totumble freely for even drying and less wrinkling.
English13• Lint filter needs to be cleaned before and after each use for your unit tooperate at optimum efficiency. The filter can be slid out, by pul
Dryer does not operate:• Check if unit is plugged in. The plug may have come loose.• Check if the electrical wall receptacle is of proper voltage. • C
English15It is your responsibility• To connect a qualified electrical installer.• To be sure that the electrical connection is adequate and in conform
Replacement Power Supply Cord must be:• UL Listed or CSA Interantional Certified• Marked for use with clothes dryers• Rated 115/230 volt minimum• 30 a
17English• Select a suitable location for the dryer on a hard even surface away fromdirect sunlight or heat source e.g. radiators, baseboard heaters,
The following are specific requirements for proper and safe operation of your dryer. Failure to follow these instructions can cre-ate excessive drying
IMPORTANT SAFETYINSTRUCTIONSWarning – To reduce the risk of fire, electric shock, or injury to persons when using your appliance, follow basic precaut
19EnglishMaterialsINSTALL MALE FITTINGS IN THE CORRECT DIRECTIONUse only 4 inch (10.2 cm) diameter (minimum) rigid or flexible metal duct andapproved
EnglishAfter installation is completed, the following method must be used to determine if the exhaust system is acceptable:1. Connect an inclined or d
21EnglishDo Not Install Your Dryer:• In an area exposed to dripping water or outside weather conditions.• In an area where it will come in contact wit
English• Dryer must be exhausted outside (outdoors, not beneath the mobile home)using metal ducting that will not support combustion. Metal ducting mu
Made in ChinaFabriqué en ChineHaier America New York, NY 10018Printed in ChinaGDZ5-1C-01Issued: April 05IMPORTANTDo Not Return This Product To The Sto
15. If material has been used with any flammable liquids or solids itshould not be used in the dryer until all traces of the flammable liquids and its
3EnglishAs dry cleaning solvents, gasoline, vegetable and cooking oils are highly hazardous materials, items soaked in or spotted with such should not
4EnglishTABLE OF CONTENTSPAGESAFETY INSTRUCTIONS ...1OPERATING INSTRUCTIONS ...
Dryer Timer:• Dryer Timer: The timer will let you set the time for up to 120 minutes to dryyour clothes depending on the fabric type and load size.
6English• Cotton Cycle: This can be either HIGH or LOW heat dry cycle depending onwhat type of clothes you want to dry for up to 120 minutes. • Synthe
7EnglishPlease follow the chart below for proper cycle/time/clothes selections.CYCLE TYPECotton CycleSynthetic CycleSynthetic CycleDelicate CycleNote:
8EnglishStart Button:• Once you have made your selection of the cycle, time and heat setting, youneed to push start button to turn the power on. You w
Related products and manuals for Dryers Haier GDZ5-1C
 (24 pages)
© 2020, manymanuals.com. All rights reserved. | 1.094 s |
 Manymanuals.com
 Manymanuals.de
 Manymanuals.fr
 Manymanuals.it
 Manymanuals.pl
 Manymanuals.cz
 Manymanuals.es
 Manymanuals-pt.com
Comments to this Manuals